Opening the kiln is the best and worst part of making pots. Everything you did in the last three weeks is behind that lid, and there is nothing more you can change. This is how a glaze firing ends in our studio.
Wait for it
The kiln reaches top temperature in the evening and switches itself off. Then we wait. Glazes and pots both crack if they cool too fast, so the lid stays shut until the kiln is below 100 degrees. That usually takes a day and a half. It is the hardest part of the week, and every potter has a story about the time they peeked too early.
When the time comes we open the bung first, then the lid a crack, then all the way. You hear the pots before you see them: a soft tinkling as the glaze settles on the cooling clay. That sound is normal, and it is one of my favourite things about the job.
What we look for first
- The cones. Small pyramids of ceramic on the shelf bend at a set heat. If they bent the right amount, the firing was good, whatever the pots look like.
- The feet. A glaze that ran too far sticks a pot to the shelf. We check every foot before we lift anything.
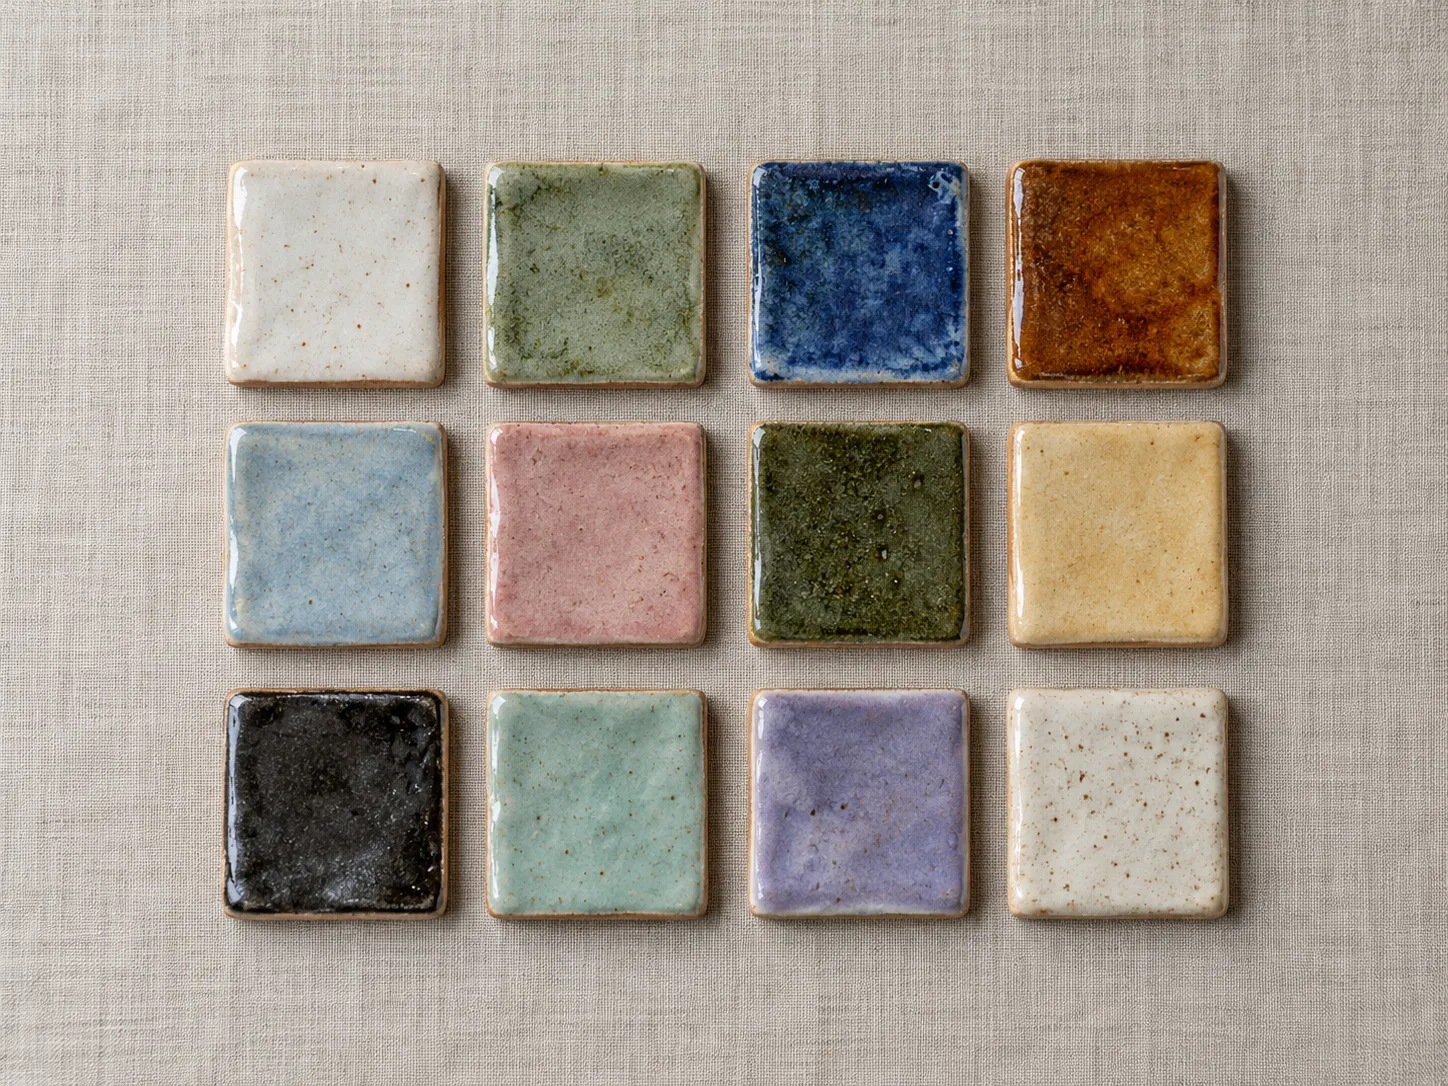
- The test tiles. Every new glaze goes into the kiln on a tile first, next to the pots. The tiles tell us how a glaze broke over an edge, pooled in a hollow and changed colour on a dark clay.
Firsts, seconds and the odd surprise
Most pots come out as we hoped. A few have a small flaw and become seconds. Now and then a pot surprises us: a celadon that went a deep sea green near the bottom of the kiln, or a tenmoku that broke rust red on the rim. We write every one of those down in the kiln log, because a happy accident is only useful if you can do it again.
Learn to read your own kiln
Kiln Notes is our short course on firing: cones, schedules, packing a kiln and what to do when a firing goes wrong. If you would rather make the glazes too, Glaze Explorers gives you a year to mix and test your own, and the Glaze Recipe Book has the recipes for every tile in the picture above.