The first question most people ask before a wheel class is not about the wheel at all. It is "which clay should I buy?" There are hundreds of them, and the bags all look the same. Here is how I choose, and the clay I hand to every beginner.
Start with a buff stoneware
For your first months, pick a mid-fire buff stoneware with a little fine grog in it. Grog is clay that has already been fired and ground up. It gives the clay some tooth, so a wall holds its shape while you pull it up, and it forgives you when you leave it a bit thick.
A smooth porcelain looks lovely in the bag. On the wheel it is soft and slippery, and it slumps the moment your hands wobble. Save it for later. You will enjoy it much more once centring is in your hands and not just in your head.
Three things to check on the bag
- The firing range. It must match the kiln you will use. Ours fire to stoneware temperature, so every clay in the studio is a stoneware.
- The grog. Fine grog is kind to your hands. Coarse grog is for big sculptural work and will scratch your palms on the wheel.
- The colour after firing. A buff or toasted body warms up a glaze. A white body keeps it bright. Neither is better, it is what you like.
Wedge it well
Whatever you buy, wedge it before it goes on the wheel. Wedging pushes out the air and evens out the soft and firm parts. Ten minutes on the bench saves you an hour of pots that will not centre. We show you how in the free Clay Taster lesson, before you spend anything.
What we use
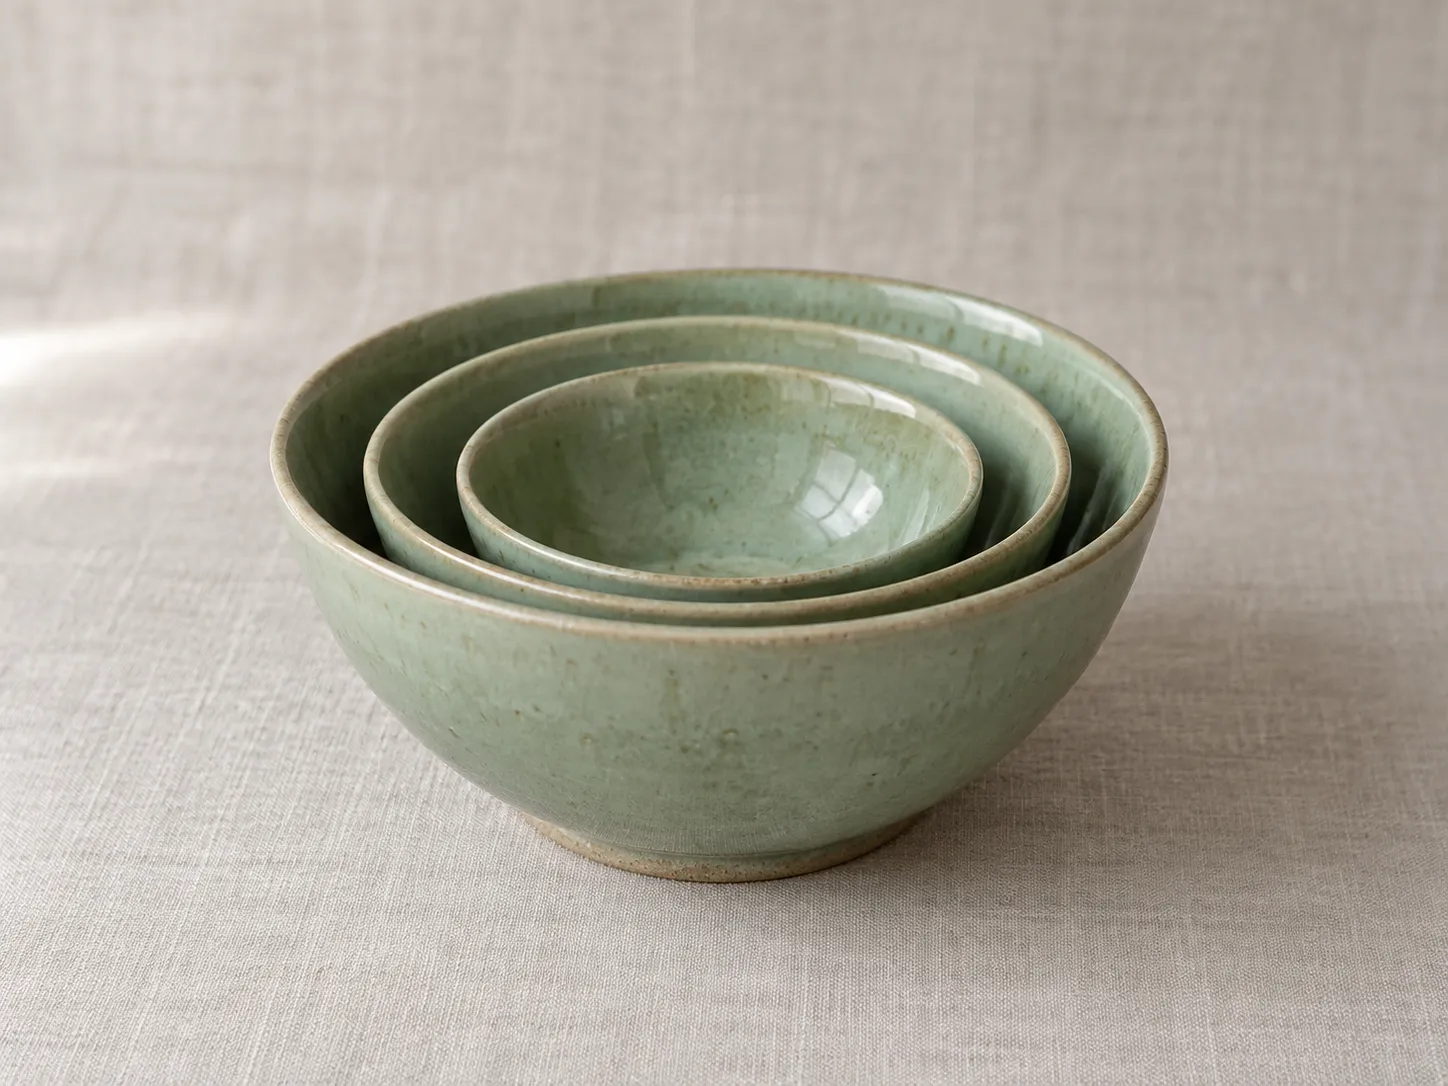
The Nesting Bowls in the shop are thrown in the same buff stoneware our students use. It throws tall without a fuss, trims cleanly at leather hard, and takes a celadon glaze well.
If you want to go from a bag of clay to a set of bowls, Throwing on the Wheel takes you through centring, opening and pulling, one step at a time and at your own pace. Bring your questions about clay to the first lesson. I always enjoy that one.